How to take a screenshot on your Mac
You can capture your entire screen or just a selected portion of it. The screenshot is automatically saved to your desktop.
How to take a screenshot of your entire screen
- Press Shift-Command (⌘)-3.
- Find the screenshot as a .png file on your desktop.
How to take a screenshot of a selected portion of your screen
- Press Shift-Command-4. The pointer changes to a crosshair.
- Move the crosshair to where you want to start the screenshot, then drag to select an area.
While dragging, you can hold Shift, Option, or Space bar to change the way the selection moves.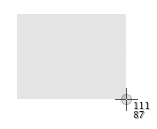
- When you've selected the area you want, release your mouse or trackpad button. To cancel, press the Esc (Escape) key before you release the button.
- Find the screenshot as a .png file on your desktop.
How to take a screenshot of a window
- Press Shift-Command-4. The pointer changes to a crosshair.
- Press the Space bar. The pointer changes to a camera.
- Move the camera over a window to highlight it.
- Click your mouse or trackpad. To cancel, press the Esc (Escape) key before you click.
- Find the screenshot as a .png file on your desktop.
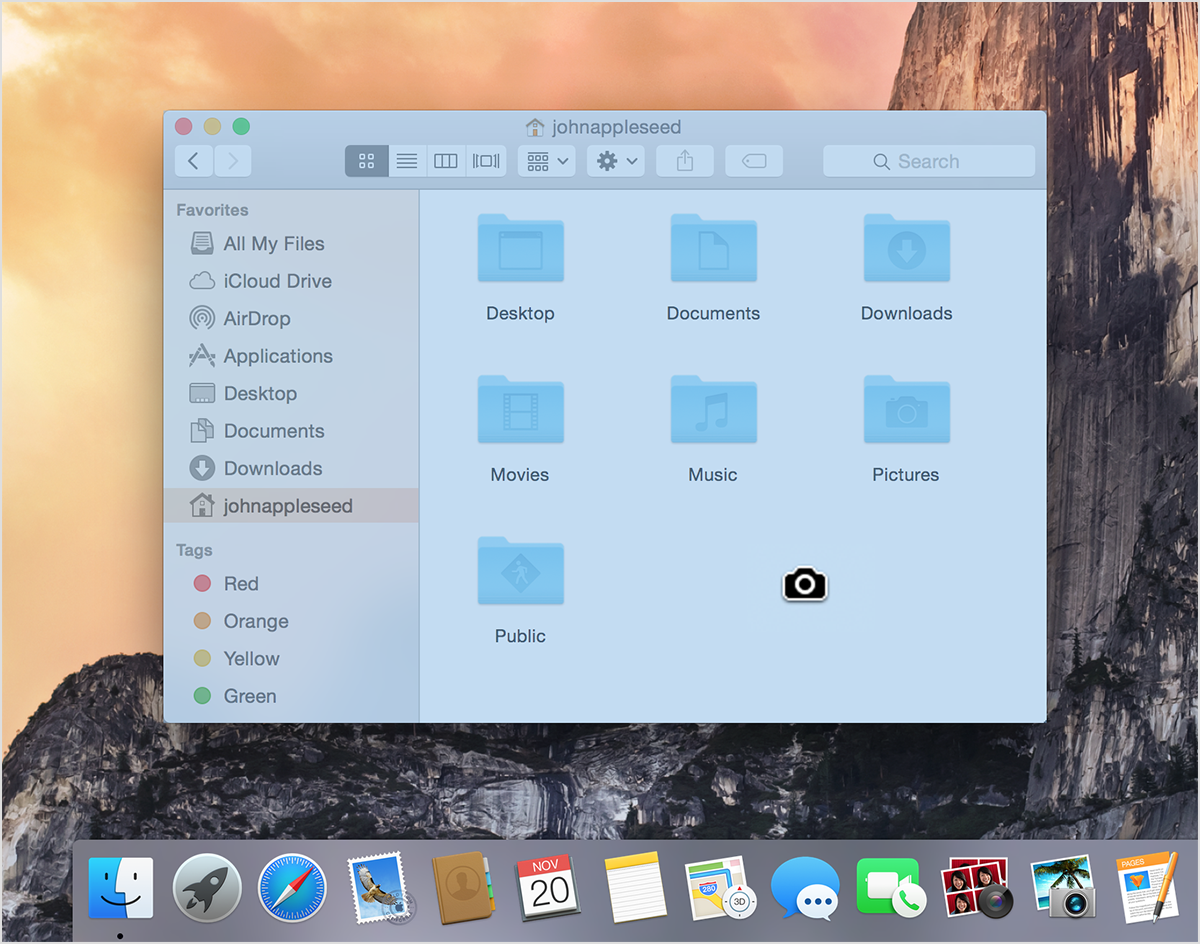
This works with windows in the Finder and most apps.
How to take a screenshot of a menu
- Click the menu to reveal its contents.
- Press Shift-Command-4. The pointer changes to a crosshair.
- Drag to select the menu.
- Release your mouse or trackpad button. To cancel, press the Escape (esc) key before you release the button.
- Find the screenshot as a .png file on your desktop.
These steps capture the contents of a menu, but not its title:
- Click the menu to reveal its contents.
- Press Shift-Command-4. The pointer changes to a crosshair.
- Press the Space bar. The pointer changes to a camera.
- Move the camera over the menu to highlight it.
- Click your mouse or trackpad. To cancel, press the Esc (Escape) key before you click.
- Find the screenshot as a .png file on your desktop.
How to take a screenshot of the Touch Bar
If you have a Mac with a Touch Bar and macOS Sierra 10.12.2 or later:
- Press Shift-Command-6.
- Find the screenshot as a .png file on your desktop.
You can also customize the Control Strip region of your Touch Bar to include a Screenshot button. Then tap the Screenshot button to see options for the type of screenshot and where to save it.


